How To Install A Vanity
A new bathroom vanity can completely transform the look of your room. Installing a new bathroom cabinet is an excellent way to transform your single or primary bath, whether you are doing a full renovation or just making a few changes for a fresh look. Follow this guide for tips and advice on how to install the newest addition to your bathroom.
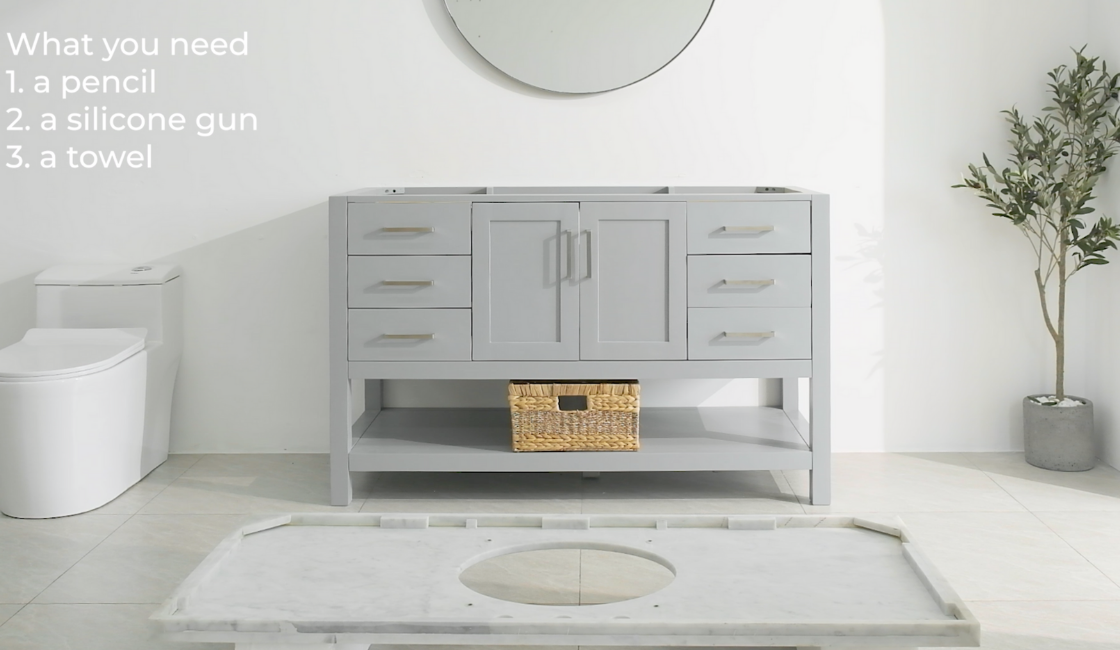
What you will need:
A pencil
A silicone gun
A towel
Follow these easy steps for a complete bathroom:
Step 1: Mark The New Vanity Placement:
Determine where you will put the vanity and mark the area on the wall. Make sure it fits the size of the new vanity before starting the installation.
Step 2: Mark The Wall Studs:
Locate and mark the location of the studs to which you will fasten your new vanity. You can find studs by listening for a solid sound as you knock on the wall or by using a stud finder.
Step 3: Place & Trace:
Place the sink basin on the bottom of the countertop and draw guidelines on the countertop to mark the position.

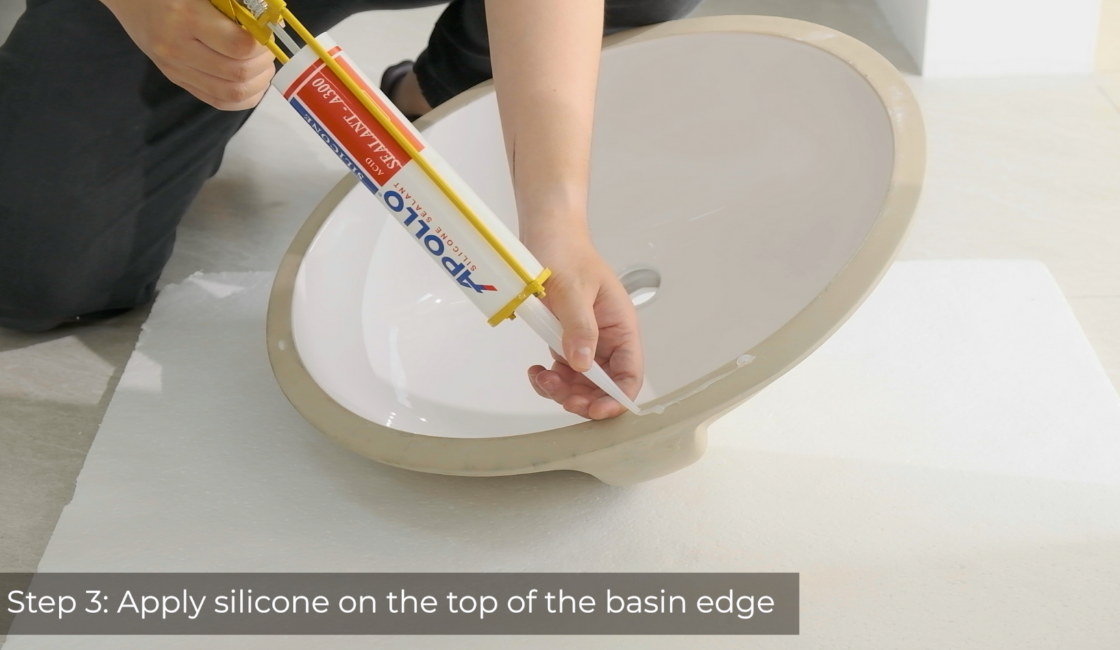
Step 4: Prepare Sink Basin:
Apply silicone on the top side of the basin edge.
Step 5: Flip & Set in place:
Carefully flip the basin in the marked position and follow the dry time recommendations for 12-24 hours until it is completely dry.

Step 6: Attach Undermount Clips:
Make sure the clips will be tight and secured safely to the countertop.

Step 7: Attach Base Cabinet To the Wall:
Attach the cabinet to the wall in the area where the position has been marked in step 1. Using drywall screws, attached the cabinet to the wall by screwing it into the wall studs.
Step 8: Prepare Base Cabinet:
Apply silicone around the top of the base cabinet.

Step 9: Set Countertop In Place:
Carefully place the countertop onto the cabinet and press down firmly. Wipe away any excess silicone immediately.

Step 10: Set backsplash:
After the vanity is in place, apply silicone to the back and the bottom of the backsplash. Press firmly down and back to set in place (allow dry time 12-24 hours). Remove any excess silicone.

